
Taking screenshots on Mac is very simple. The rule is Command + Shift + 3. However, you can take a screenshot on Mac with the selected portion if you press Command + Shift + 4. And to take, screen recording of your Mac, press Command + Shift + 5. The screen recorder also gives an option to capture screenshots but never gives an option to set a time delay before capturing screenshots. You can check more ways to take screenshots on Apple official website. However, on the website there is no information on how to take screenshot with time delay on Mac?
Before we jump into the tutorial, we need to understand why we need a time delay. In certain scenarios, I wanted to take a screenshot of a web page where it contains a button and a tooltip appears on the button when we hover mouse pointer on it. I wanted to take screenshot along with the tooltip but when I press the Command key and try to take a screenshot, the tooltip disappears. We cannot blame the web page or the screenshot feature, because that's how the tooltips work.
On Windows, the feature to take screenshot with time delay is built in natively on the Windows Snipping tool. On a Mac, I do not know why Apple did not add it, but have them hidden inside.
How To Take Screenshot with Time Delay on Mac
-
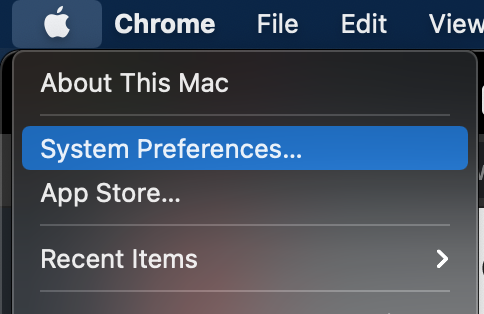
Click on Apple icon on top left of the screen and choose System Preferences.
-
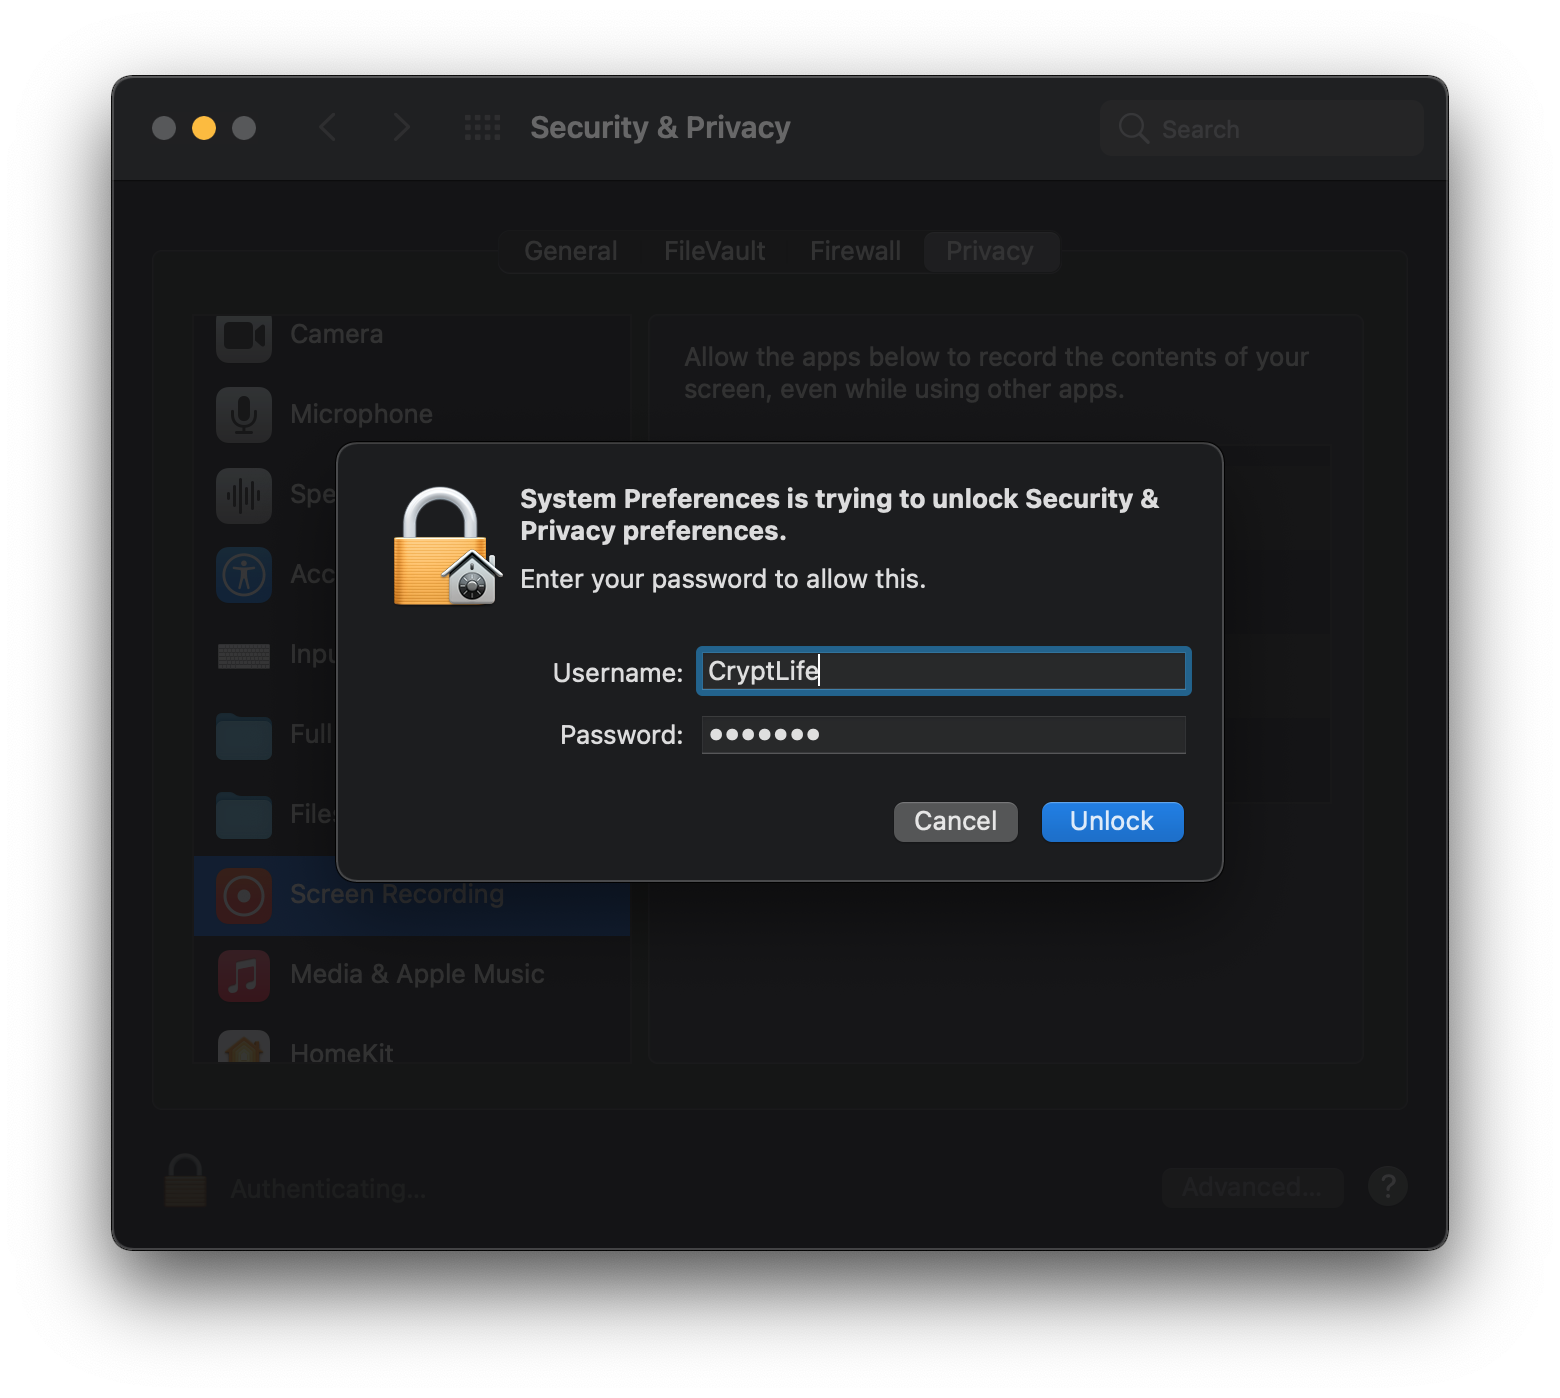
Click on Security & Privacy.
-
On the left pane, select Screen Recording.
-
On the bottom right, click on lock icon and enter your administrator password.
-
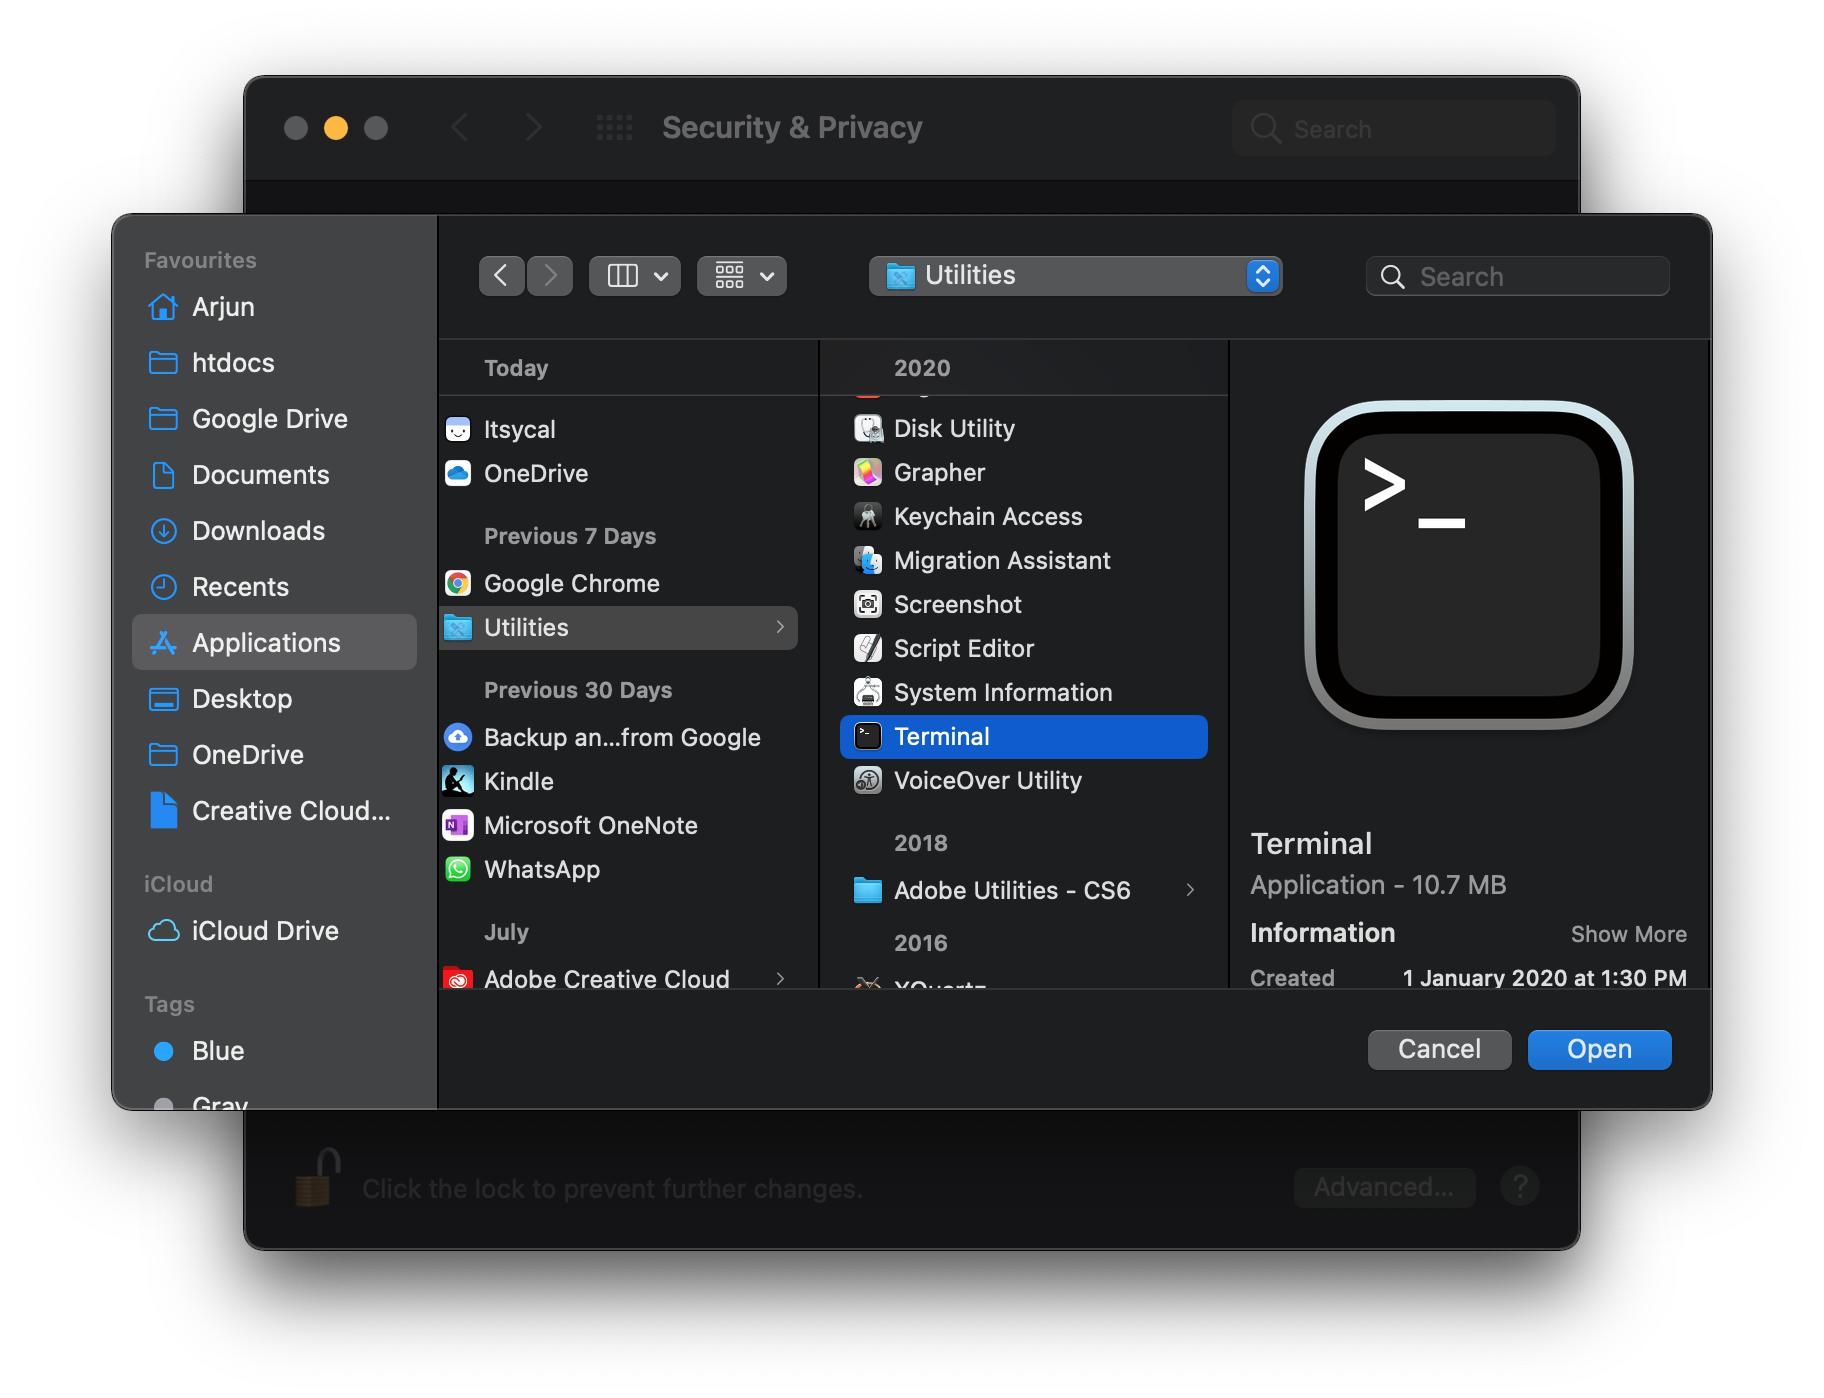
Click on the + icon on the right panel and choose Applications > Utilities > Terminal.
-
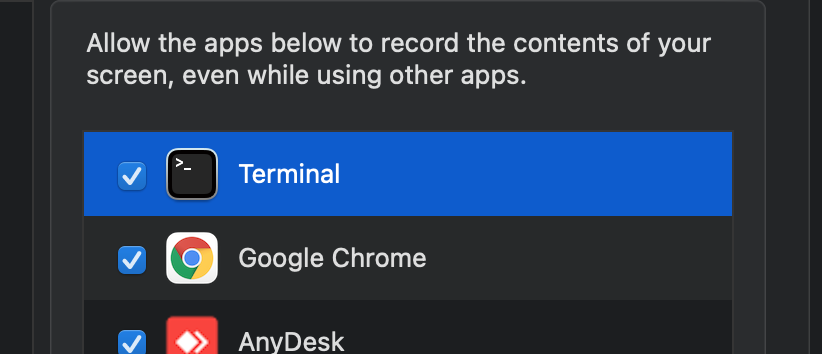
Make sure Terminal is checked.
-
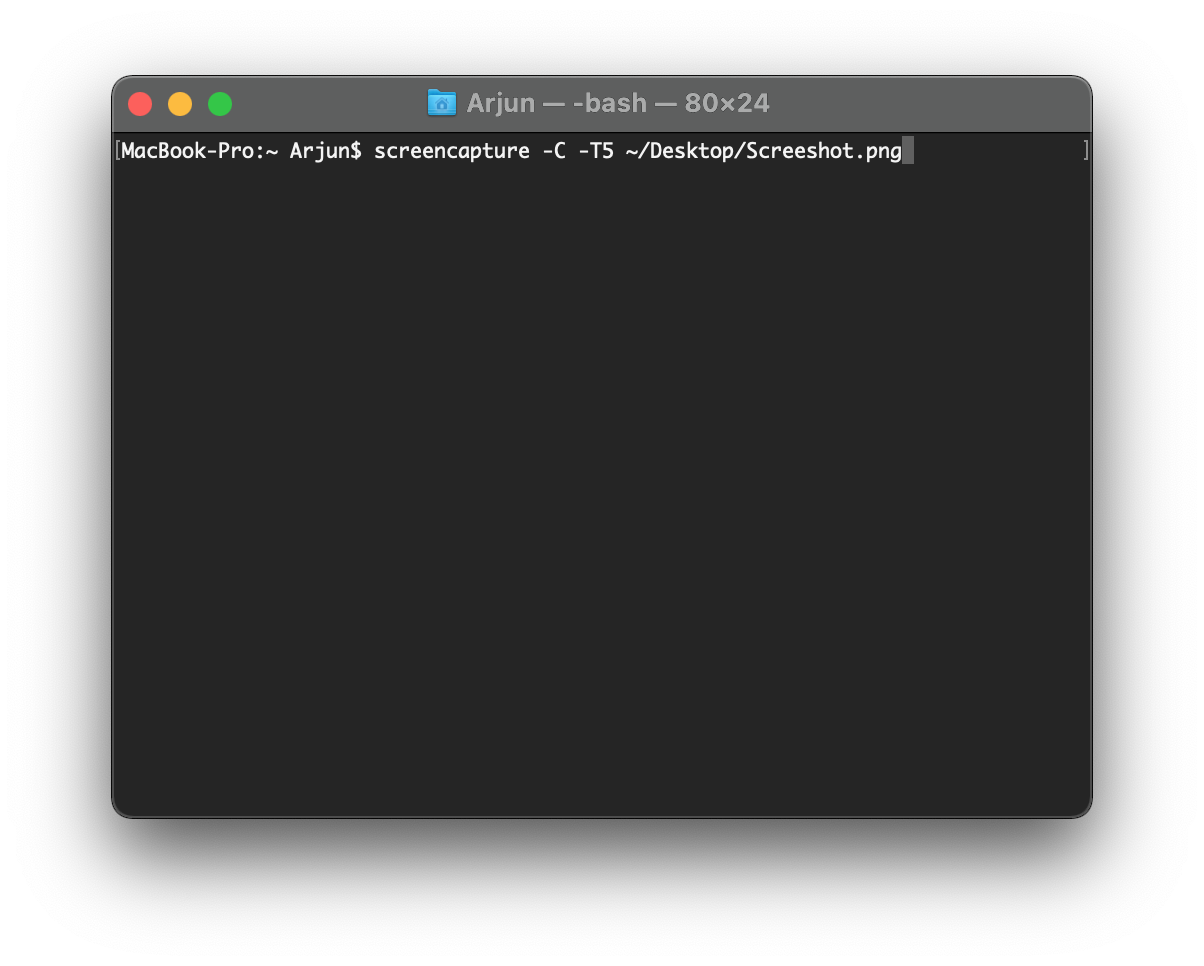
Type the following and hit enter.
screencapture -C -T5 ~/Desktop/Screenshot.png
-
After 5 seconds, screenshot is captured and is saved in Desktop as Screenshot.png
The above steps might look big because you want your terminal to allow screen recording. Next time, you can just open the terminal from Spotlight (press Command + Space) and open Terminal, then type in the line screencapture command given in step 8.
Leave your thoughts in the comments below.