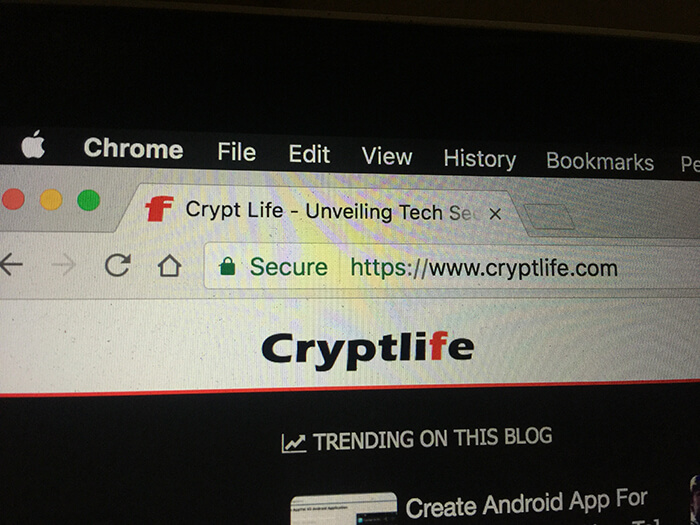
Moving sites and blogs from HTTP to HTTPS is one of the crucial parts for participating in today's competition on SERP. As Google started to rank sites running on a secure connection a bit higher than a regular HTTP website, there is a need to switch to HTTPS considering the benefits of both readers and site owners. Learn how to easily switch WordPress blog to HTTPS. If you have researched a bit more about switching your blog to HTTPS, you must have come across the following steps.
- Buy an SSL certificate from a third-party vendor
- Install SSL certificate on your server
- Configure your site for enabling port 443
- Update blog URLs and links
- Redirect old HTTP links to new HTTPS link
Are we going to follow this? No. Maybe, we should follow this but not all. The first three steps will be taken care of a third party network for your blog. You need to do the remaining part of the steps to switch WordPress blog to HTTPS.  If you are a beginner, I suggest you implement Cloudflare on your blogs for security and performance.
What is CloudFlare?
Cloudflare is a CDN which helps in securing websites and caching them so that users could see the web page faster than usual. It provides various security services and caching services absolutely for free. However, they provide premium services which include protecting sites from other severe threats.
Create an account at Cloudflare and Add your site
- Go to cloudflare.com and sign up for a new account.
- Complete all the formalities that are needed for account verification.
- Once you have signed up, log into your CloudFlare account and add a new site.
- CloudFlare will automatically fetch your name servers, CNAME, A records and other domain configurations.
- Now, to make the Cloudflare work, you need to add CloudFlare's nameserver to your domain configuration. You can remove the existing name servers as Cloudflare will be pointing your domain to your host.
- Once you have configured, you can check your site's domain configuration on dnswatch.info.
When you are sure that your site is pointing to CloudFlare, you can proceed to next steps.
Enable HTTPS on CloudFlare
- Login to Cloudflare account and choose your site.
- Click Crypto menu
- Under SSL section, change the dropdown to Flexible.
Enable Automatic Redirection from HTTP to HTTPS
- Under Crypto menu, find an option that says, "Automatic HTTP rewrites."
- Turn on this feature to redirect all HTTP links to https.
Let WordPress know that you have switched to HTTPS
Changing WordPress URL
- Login to your WordPress dashboard.
- Go to Settings > General.
- Update WordPress Address and Site Address fields to https.
- Click on Save Changes.
Changing Internal Links
- Download and install Velvet Blues Update URLs plugin for WordPress.
- Activate and go to Tools > Update URLs.
- In the place of Old URL field, provide your HTTP version of your blog address. Example: http://cryptlife.com
- In the New URL field, provide the new https version of your blog address. Example: https://cryptlife.com
Resolving Mixed Content Errors
As a WordPress user, you have a plugin to resolve these errors. You should note that this plugin will help plugins and themes to generate a https URL of CSS/JS files to be included in the head section of your theme's page. Really Simple SSL plugin for WordPress will help to resolve such issues. Also, the plugin notifies for further configuration errors and suggests for changes. And voila! that's all, you have switched WordPress blog to HTTPS.
Conclusion
Cloudflare technique of switching WordPress blogs to HTTPS is the simplest method for beginners. Cloudflare free account provides SSL certificate for everyone that uses a shared SSL certificate. In order to get your own dedicated certificate, you need to pay Cloudflare and upload your own dedicated certificate. You need to update the new HTTPS version of your blog URL in Google Analytics. Also, you need to add a new property of HTTPS version and submit a sitemap to Google via Google Seearch Console. Happy Securing your blog!
