Smartphones have become important part of the human life. As the technology grows, there have been lot of improvements in smartphone world. Not only smartphones, but also tablet computers. The evolution of Apple iOS is the one which ignited the need of smartphone among the people and later, Android catalyzed the process. Now, in most of the countries, smartphones are available at cheaper price with lot of value added features. Smartphones are nothing without data connection. To make international calls, data calls with Viber is much beneficial in terms of cost. Skype can also be used to make data calls but calling people through Viber is much easier than making a call over Skype. This article will teach you how to make free call with Viber without smartphone.

What is Viber?
Viber is one of the popular Android application which allows you to make a data call. Viber is also available for Windows Phone, iOS and Symbian devices too. Viber can be installed on your Windows PC too.
To make calls through Windows without smartphone, you need the following:
- BlueStacks Web App Player. [Download]
- A mobile phone with a SIM card. (You can use your Nokia 3310 too :P )
- PC with Windows 7 or 8 installed.
- A Google account.
- Viber for Windows. [Download]
Are you ready with the above prerequisites? Let's start!
Step #1: Installing BlueStacks
Installing BlueStacks is simple. A step by step wizard after downloading the installer will guide you to install BlueStacks completely on your computer. BlueStacks usually requires a bit higher PC configuration. It eats up lot of graphic memory so, you need a PC with better graphics.
Step #2: Installing Viber on BlueStacks
Open up BlueStacks and in the search bar, type "Viber". It is recommended that you download Viber from Google Play Store. Sign in with your Google account and install Viber on BlueStacks.
Step #3: Verifying Viber
After downloading Viber, open the application from the BlueStacks home (the starting screen). Agree to the terms and conditions and provide your mobile number for verification. This will verify your phone number. Viber sends a message with a verification code to the number you've provided.
After you have received the verification code, enter the code on BlueStacks where you have opened Viber. Go to the next step and voila, you are done with registering your number with Viber.
Step #4: Installing Viber without smartphone on Windows PC
Download and install Viber for Windows. The download link is available at the top where prerequisite is listed. Open up Viber after installing it on your Windows. The application will ask for verification of a smartphone in which the Viber is verified. Just tell the application that you have a smartphone with Viber.
Now, enter the phone number which you used to verify Viber while installing on BlueStacks. After entering, a verification code will be sent to your Viber app on BlueStacks. Enter the code which you have received in Viber on BlueStacks.
Step #5: Making Calls on Viber without Smartphone
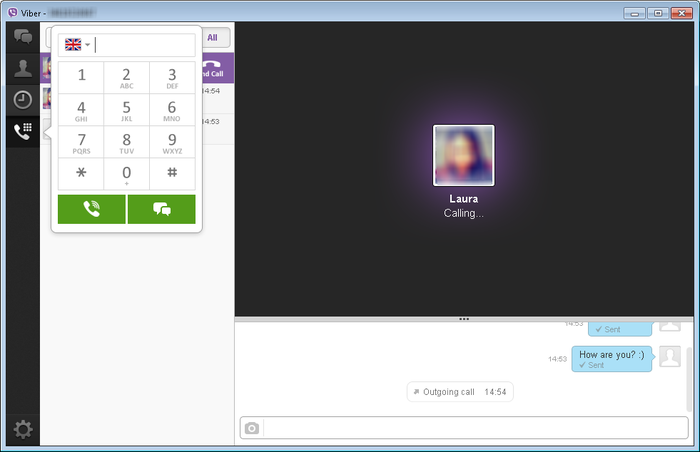
You're almost done now. You can now uninstall BlueStacks for Windows if you wish as you can make call to a Viber verified or enabled smartphones across the world. And look, you don't have to spend money on buying a smartphone with lot of features. Open Viber for Windows and start dialing the number to make free call.
Benefits of making calls over Viber for Windows:
As data calls require a high speed internet connection, it is best while using Viber on Windows. Even if you use a 3G or WiFi connection sometimes, due to weak signal problems, you may end up with bad call quality. Most of us use home computers with a wired broadband connection. So, availability of internet signal is not always worried on a wired broadband.
If you have any queries, please drop them below. I'm happy to help you.
